When you imagine an individual who just had their smile makeover done, what do you dread? Most of our clients' answers have been consistent: they are scared of getting "Chiclet teeth" as a result of the procedure. By "Chiclet teeth," we refer to those excessively big, bright and blindingly white blocks that seem more appropriate for a piano keyboard than for a real person's mouth.
But a good smile makeover is supposed to create such an impression that you will be wondering where the patient just returned from on vacation and not where the newly-made teeth are from. How can such a perfectly natural impression be created, though? The answer lies in the precise technique of veneer shade matching.
If you want to learn more about how you can get such an impressive smile makeover, learning the details of veneer shade matching will help you feel a lot better. This is much more than just choosing the shade of white from the color chart. Come and take a sneak peek into The Dental Roots to find out how cosmetic dentists match the teeth's colors.
Beyond Blinding White: The Anatomy of a Natural Smile
At the outset, when a patient sits in the consultation chair, he is sure to demand the whitest possible shade. However, the teeth of a human being are very complicated structures. If you examine your own teeth through a magnifying glass, then you will realize that they do not have a uniform color.
There is a gradient effect on your teeth; they tend to be more opaque at their bases, because at the base there is a thick layer of dentin in your teeth. Moving towards the tips, your teeth become more translucent. Matching that gradient effect is the most essential step in creating natural teeth veneer shades.
In case you are getting veneers applied on just a couple of your teeth, then color matching between them and the other teeth becomes all the more difficult.
Step 1: The Baseline Assessment and the Shade Guide
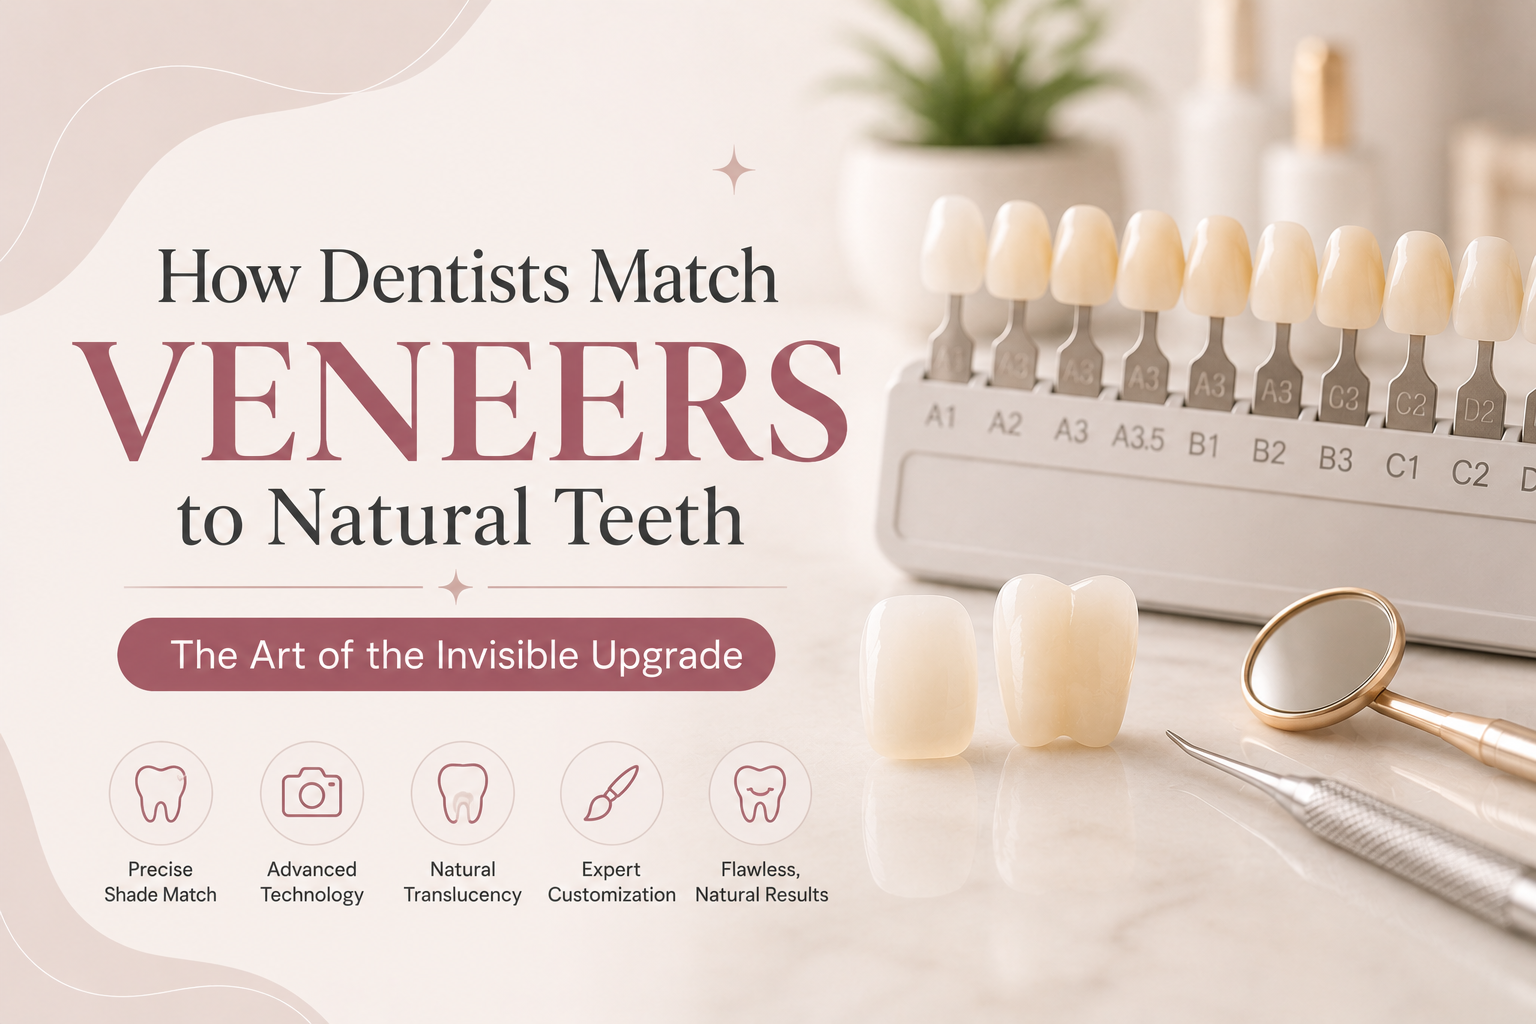
The first step is making a baseline. Your dentist will then proceed to use a specially designed instrument referred to as a shade guide or tooth color chart. It is basically a tiny palette of artificial teeth on a metal or plastic ring that comes in different colors ranging from dark yellow and grayish colors to Hollywood white colors.
Your dentist will then place this guide next to your natural teeth. However, the lighting factor greatly affects color perception. The light used during dental procedures in clinics is usually fluorescent and may misinterpret the shade at times. This is why a professional cosmetic dentist usually evaluates the color under various lighting factors including natural daylight to make sure that everything is matched perfectly. They also take numerous photos using a special camera which can take high-resolution macro shots of your mouth.
Step 2: Incorporating Digital Smile Design
Even before any physical work takes place, the most prestigious dental clinics make use of the latest technology in order to remove the element of guesswork involved. By employing digital smile design, it becomes possible to create digital images of your face and teeth and process them via special software.
It becomes possible for the dentist to see the whole picture in a way. They evaluate your skin color, whiteness of your eyes, mobility of your lips, and the symmetry of your face. And indeed, your skin color plays an essential role when selecting the veneer shade. What might appear incredibly brilliant on one patient with dark warm skin color will seem grey and lifeless on another patient with very pale cool skin color.
Step 3: Mastering Porcelain Translucency
While color makes up one part of the equation, light makes up the other half. Tooth enamel is not fully opaque; light passes through the enamel and reflects off the darker underlying dentin layer.
To ensure high-quality restorations, the lab needs to incorporate this physical characteristic of the material known as porcelain translucency. The wrong amount of translucency results either in an artificial appearance or in too much of the darker underlying tooth showing through. By choosing the correct glass-ceramic block from which the veneers are milled, the dentist controls how light interacts with the teeth.
Step 4: The Art of Dental Lab Customization
After the preparation of the teeth is done, and the final color selection made, that information is transmitted to the master ceramist, who will do all of his artistry for the veneer customization.
Top-quality porcelain for veneers cannot simply be cast like any piece of plastic would be. Porcelain is usually applied in several layers, and the first of these is a layer somewhat darker than the rest, imitating the dentin under the tooth enamel. Next, several translucent porcelain layers are painted on top and then baked.
The master ceramist may even add some small blemishes to the ceramic in the form of warming of the color of the tooth right below the gumline or a slight "halo" effect that can be seen on young, healthy teeth.
Step 5: The Try-In Paste and Final Adjustments
Within a few weeks' time, the porcelain veneers come back to the office. However, the color-matching process does not end here.
Before bonding the shells on your teeth permanently, the dentist will carry out a "try-in." The dentist will affix the veneer temporarily using a try-in paste. Try-in pastes are available in different colors – there are translucent, slightly warm, and very white pastes. Since porcelain is extremely thin and semi-translucent, the color of the cement placed underneath will affect the overall appearance of the porcelain.
In case the veneer appears to be a bit darker compared to your skin color, the dentist may use a whiter cement to give a brighter color. In case it appears to be too bright, then the dentist may use a slightly warm cement to tone it down. With this last step, your matching veneers to teeth color procedure is flawless. Once you approve the result by looking into the mirror, your teeth will be bonded using permanent light cured cement.
Why Choose The Dental Roots for Your Smile Makeover?
A smile which appears extremely beautiful yet totally genuine necessitates the harmonious combination of science and artistry at an expert level. A smile of such kind needs a team which would never compromise on any aspect whatsoever.
At The Dental Roots, at our cutting-edge facilities located in Delhi and Gurugram, we know the value that a person invests into the cosmetic treatment of his or her smile. That’s why all our porcelain veneers are made only by the best master ceramists of the dental industry. No two smiles of ours ever look alike because we never create smiles on an assembly line basis. Every stage of our technique is designed in order to make you smile as if nature itself has been exceptionally lucky with you.
If you’ve got sick of concealing your teeth and want to experience the difference which can make you feel much more confident about yourself, now is the time.
Frequently Asked Questions
The Dental Roots Editorial Team
Written by our panel of specialist dentists & patient educators